I’ve had many people tell me that they don’t have a creative bone in their body. For some people, creating art is easy; making things comes as naturally as breathing. For others, even if the intent and effort is there, it seems that crafting is just difficult. I like to share ideas that everyone can find success with, which is why we’ve got a fail-proof “easy art” project in this post. Try this painting technique with a spooky image (like a black cat) if you’re decorating for an upcoming Halloween party or just choose something that inspires you for regular year-round décor!
Here’s what you’ll need:
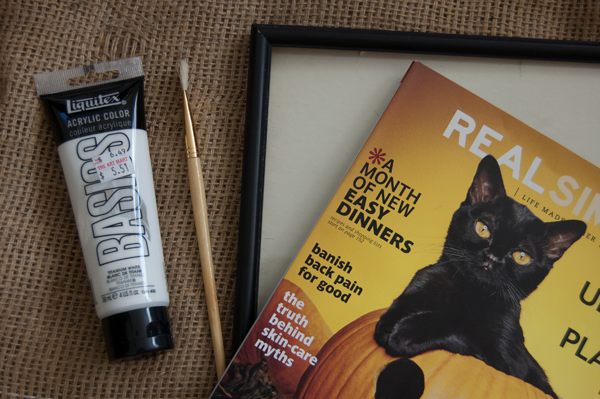
- A picture frame
- Magazines
- Paint
- Paintbrush
- Fabric or paper for the background
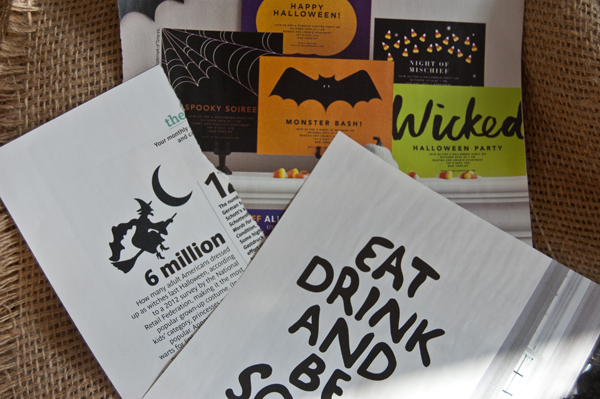
The first step in this process is to find an image that you want to replicate. Comb through magazines, or browse the Internet and print something you like. If you’re confident in your painting skills, remember to use your artist’s license to add embellishments, change the colors or otherwise make the image your own. If you are just starting out, you may decide to make your painting as close to the original as you can. Maybe even try painting some text!
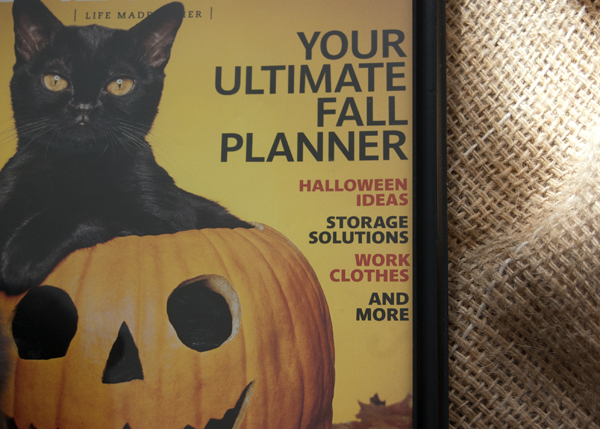
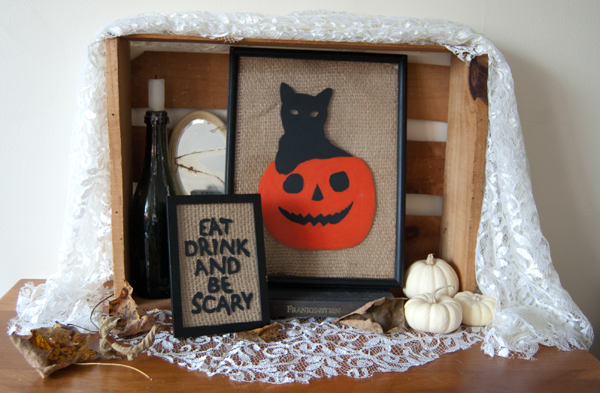
Once you have your image page ready, pop it into the frame and get your paints ready! With your paintbrush, trace your piece then fill it in, painting directly on the glass. If you make a mistake, you can easily wipe your paint off with a wet cloth – no big deal! Take your time and have fun. Making a silhouette (like my black cat here) of a more detailed photo is a good way to simplify. Plus, a shadowy feline looks pretty spooky – especially at this time of the year!
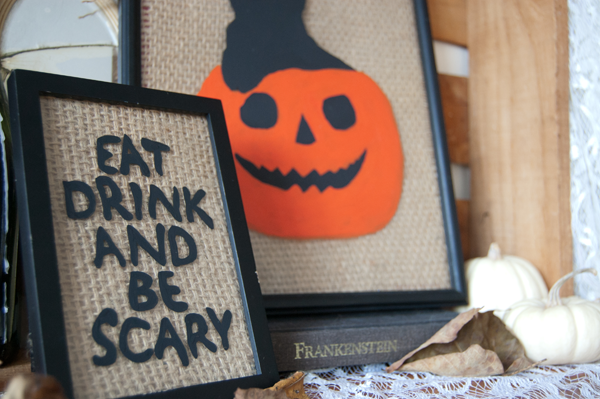
When you’re finished painting and the paint has dried, remove the magazine page from within the frame and replace it with fabric, matting, or paper of your choice (for the background). You can easily cut this to size by laying the glass from your frame onto the fabric, tracing it, then cutting just outside your trace line.

Voila! Your painting is complete (and already framed!). Settle it into a Halloween display and get ready for trick-or-treaters to approach. Now that I’ve tried this technique, I’m so smitten that I’m already thinking about how great this will be when I’m decorating for the holidays – yikes!
Thinking about giving it a shot? Head over to your local Goodwill! That’s not only where I got both of these frames, but I also got the wooden box, lace fabric, and wine bottle for my display at Goodwill, too! I’m a huge fan and love being one of their many community partners. You can help Goodwill strengthen your community by shopping at and donating to any of their many locations.
Happy Halloween!
xx, Julia