If you’re like me and you’re counting down the days to the holidays, an advent calendar is a must-have! Now that we have a little one in our house, I just can’t wait to watch his excitement as the holidays get closer. Okay, let’s be honest; he’s seven months old, so it’ll be Mom being excited. Either way, I just can’t wait!
When I spotted a unique frame at Goodwill I knew I had the perfect beginnings to a homemade advent calendar. You could even remove the countdown envelopes and use the frame in your home from January through November – bonus!
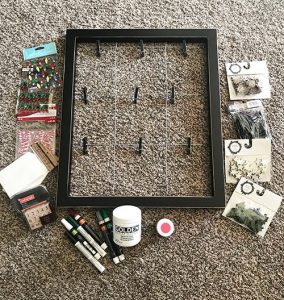
Materials:
- Picture frame or window shutter
- Holiday stickers and decorative pieces
- Craft paint or paint pens
- Miniature clothes pins
- Small envelopes
- Number stamps (optional)
Make it!
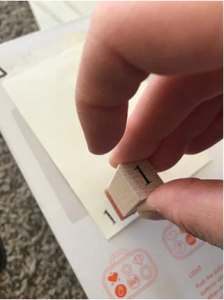
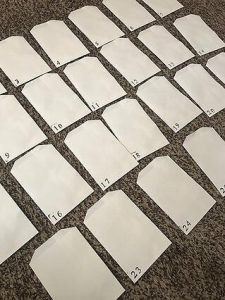
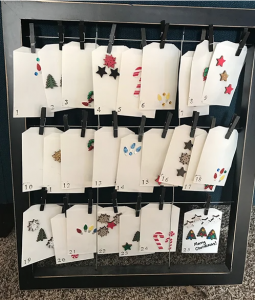
Start by numbering each envelope. I used a rubber stamp for a rustic look, but you could easily write the numbers in on your own if you do not have a stamp.
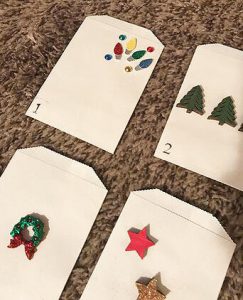
Once each envelope is numbered, start decorating each of them! I used scrapbooking stickers and small holiday themed wooden pieces to create a unique look on each envelope. I painted several of the wooden pieces, and left others in their natural state. I also added glitter to a few, because what’s a holiday without a little glitter, right?

To complete the project, use your miniature clothes pins to hang each envelope. Then fill with a fun little surprise to open each morning as you countdown to your favorite holiday. I’ll be filling mine with tiny chocolates, new ornaments, fun quotes and maybe even a Goodwill gift card!
This post originally appeared in Goodwill Industries of Southeastern Wisconsin and Metropolitan Chicago’s DIY blog. Read the original.